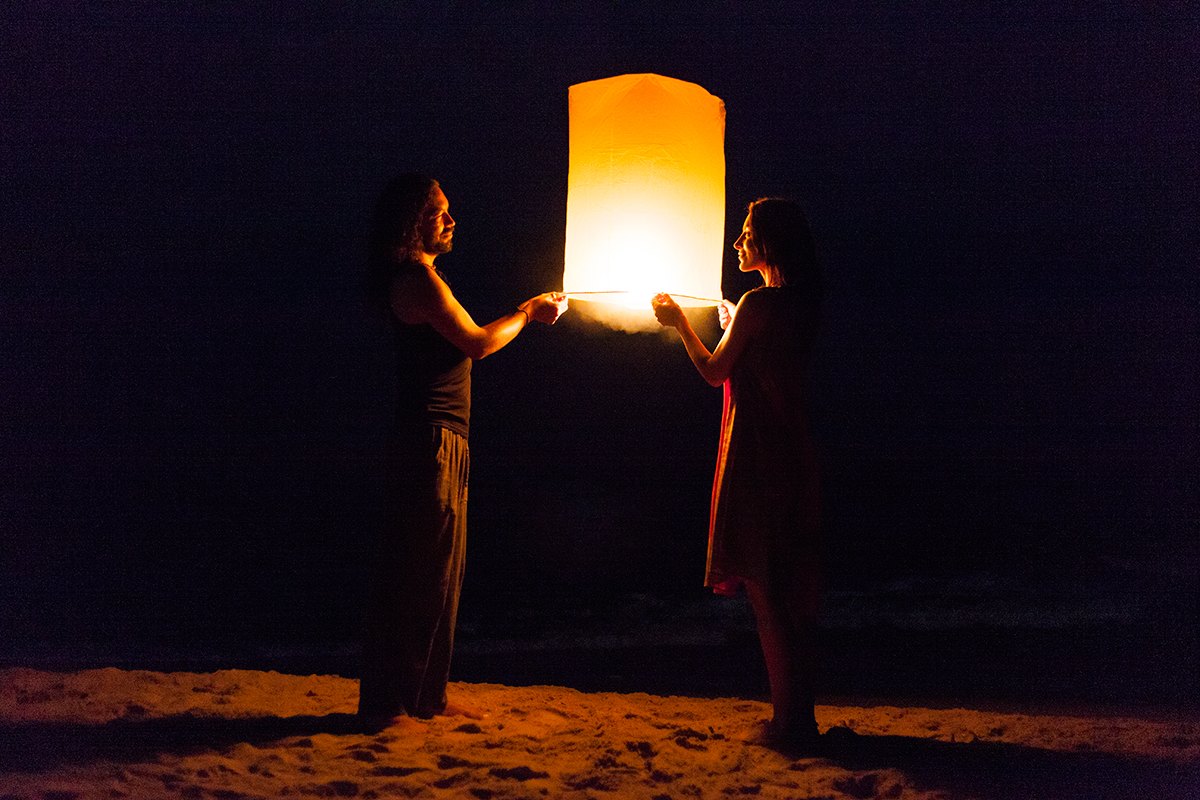
Once you start taking pictures in different natural light conditions, dealing with common difficult light conditions will become part of your experience. It’s a fascinating journey of discovery. The dance between light and shadows is captivating, and most often than not, it becomes every photographer’s obsession.
Shooting in any natural light can be tricky, even while shooting in one of the most flattering and easy to handle natural light. That’s why so many photographers turn to working with strobes and flashes. It’s not for every photographer, but if you know how to work with studio lights it can change your life.
But today I want to share with you some of my tips regarding dealing with difficult light conditions.
Have you heard of the “golden hour”? Most photographers love it, as they believe that it’s the perfect natural light condition. It’s the time when the light is soft and ti’s perfectly diffused by nature.
It’s the time of the day when the light is simply enchanting.
It’s the moment when without much effort on your part, as photographer, the shadows under the eyes of your subjects are close to none, or completely non existent.
If we, as photographers had any say about it, the “golden hour” would last all day long. The light would forever be soft, your subjects would never squint, and there would be no dark shadows under your subjects eyes ever to deal with. And there would be no concept of underexposed or overexposed part of your picture. Balanced light and softness would be present in every shot you would ever take.
Awwww… for some it would be a dream come true. Yet, challenging light at times can boost your creativity, and create captivating opportunities.
The thing is, that if there is any source of light available around, there is potentially a way to create an amazing shot with it. All we have to do, is to be ready to take it. We are here to celebrate light, and to learn how to take the best pictures we possibly can with the gear and light we have available. There is so much beauty laying within the unforeseen.
That’s where creativity and enchantment most often dwells. Let’s discover it together!
When you want to be able to take amazing pictures at any moment, you need to have tools and techniques in place to deal with any situation, and to know how to make the best use of the light you have.
So what are some of the most common difficult light conditions you might be dealing with?
Today I will share with you 6 Photography Tips about:
- High noon light, harsh sunlight without shade. Which means most of the time direct, overhead light. A light at a bright sunny day around lunchtime.
- Indoors family pictures
- Flares and reflective surface
- Light in dark places with mixed sources of light: parties and concerts
- Night street photography
- Dark places with scarce light
1. High noon light, harsh sunlight without shade
Shooting in the middle of the day can be one of the most difficult lighting situations to shoot in. Harsh light, that creates dark harsh shadows like those produced by the sun at midday on a clear day, is one of the hardest things to deal with. But at times you just can’t help but to want to capture that incredible moment, a memory, no matter what time it is, and no matter what light conditions you have to face. You go all in, and you go for that incredible shoot.
TIPS ON SHOOTING PORTRAITS:
I never ever advice to use camera flash, but here comes an exception. For portraits in general, people, or group shots use flash, if you have this option. It will help balance the background light and it will balance the harsh shadows. Use it to help fill in light on the face to get that incredible shot.
But if you are going all in with natural light, you have two other options to consider:
1. Make sure to always have reflector with you. Your trusted folding friend can be so handy: a 5-in-1 reflector disk could be your best friend in challenging lighting situations. Plus it’s light and super helpful tool to have. And in your camera, make sure to set your brightness measure manually. Choose a particular spot, or in specific portion of the frame to make sure to even out the light in the whole frame.
For more information on 5-in-1 reflector check the BONUS TIP bellow.
Or
2. Move with your subject/s into a soft shade. Avoid shooting in the direct light and shoot under a tree, use a shade of a building or other structures to soften the light and help reduce the harsh shadows. If you have time to prepare and plan ahead, pack a large reflector to direct the light into the faces or to create a shade.
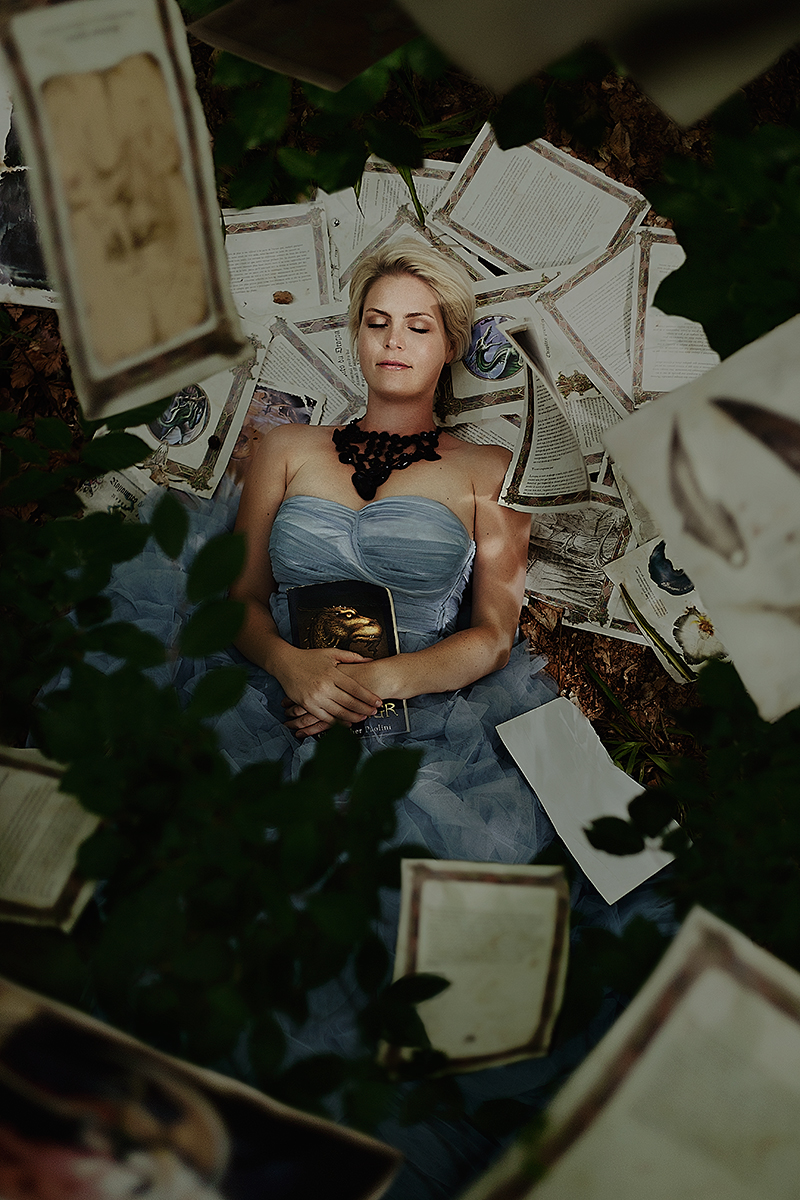
PHOTOGRAPHY TIPS:
Also remember to set the exposure compensation on your camera to -1/3 rd to -2/3 rds. This should even out the light in the sky, and the reflected light from the ground below. If all else fails, don’t forget the “sunny f/16 rule” and you should get something worthwhile.
TIPS ON SHOOTING LANDSCAPES:
Use polarize filters when shooting nature. The filter is really useful with helping to saturate the bright sky.
2. Indoors family pictures
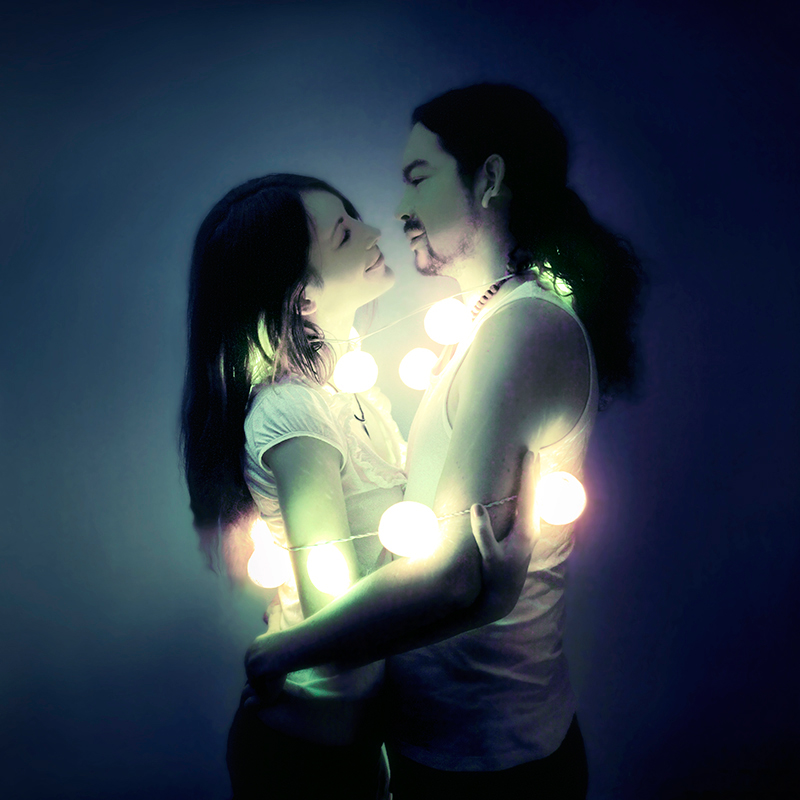
Taking pictures of your family at any point, especially in the evening, during a birthday party or at dinner time can put you in some of the most difficult lighting situations you will have to face. Whether you are shooting with only natural light coming through the windows and doors, or working with a mix of both natural light and available light coming from the electric lamps. Or shooting in the evening, while the natural light is gone, and all rooms are filled with different light sources. Keep in mind that the light coming out of different bulbs will vary, and give different results.
PHOTOGRAPHY TIP:
To take great pictures in the evenings and capture candid moments of your family set your ISO as high as you can, and remember to set your white balance manually. And once that’s done, enjoy every moment of shooting those wonderful family moments. If you are a flash fan, before you grab for your trusted friend, set your camera, take a test shot and see if you could shoot without it. When you shoot with the available light, the pictures have so much more depth and charm. And if you are not a fan of noise in your pictures remember that the newer DSLRs are capable of handling high ISO with very little digital noise.
3. Flares and reflective surfaces
Even if I love flares, and working with reflective surfaces can add such an incredible creative touch, they also can be challenging to deal with especially when those results are not what you are going for. So if you want to avoid this mess or reduce reflections or and flares like a pro my advice is to use polarizing filters. They are easy to find both online and in the stores with photography gear, just make sure that you will get the right size to fit your lens. You can find both: cheap and extremely expensive filters. Do your research, and choose the both option for your needs and your camera as the main difference between different brands and standard of polarizing filters lies in their optical quality.
The main purpose of polarizing filters is to reduce glare from reflective surfaces like windows, ponds and large bodies of water (to name a few). The most popular type of polarizing filter on the market are circular types that are made to fit easily on almost any lens. They are built with a loose spinning element that allows for quick adjustments while shooting in the field. These little helpers are engineered to block certain wavelengths of light from getting into the lens and sensor.
4. Light at parties and concerts.
Have you ever really paid attention to the common mixed light conditions that are often present at parties or and concerts? And yes in this case, mixed sources of light = challenging to work with.
PHOTOGRAPHY TIP:
The best tip I can offer you for shooting in those kind of conditions is to take the best pictures you possibly can, and not to worry about the white balance. Set your camera for Automatic White Balance and shoot. When there are many sources of light in dark places trying to get the white balance right straight out of the camera can drive you mad. So, relax, breath, make sure that you are shooting in RAW, and enjoy taking those amazing ambient shots. And once you get to editing adjust the temperature of your images in post-production with few simple clicks. White Balance is one of the most easy settings to play with, and to correct. So enjoy those super powers.
5. Night Street Photography
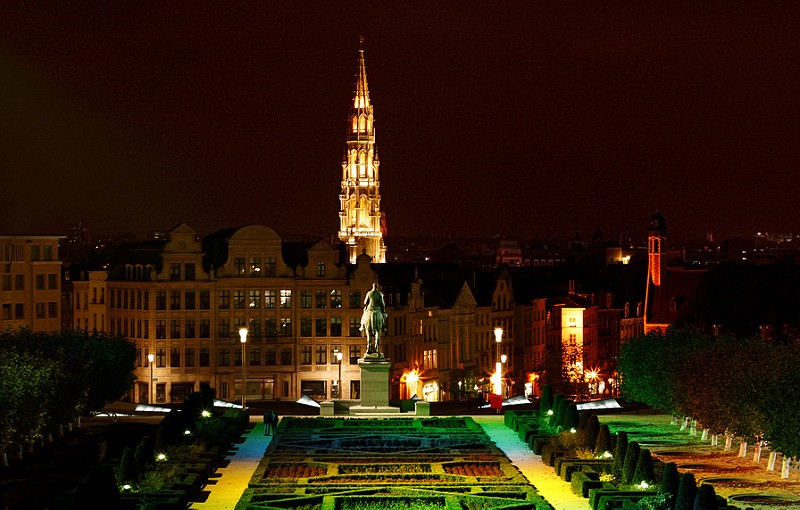
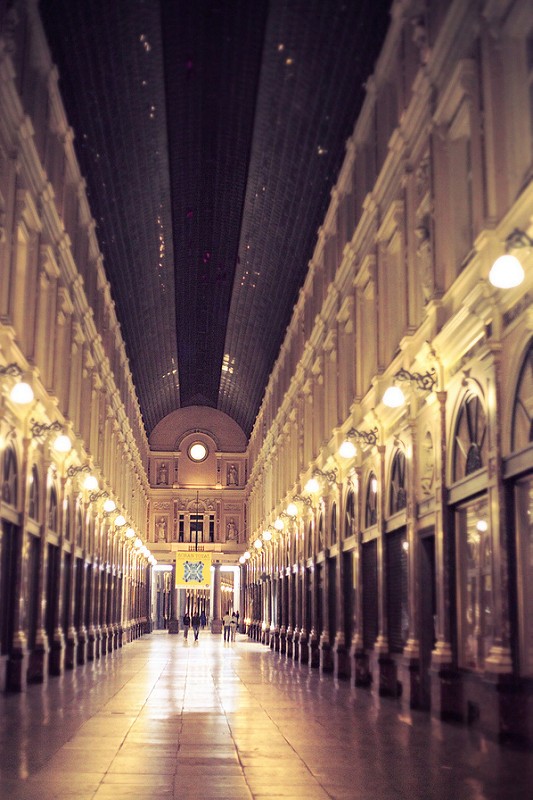
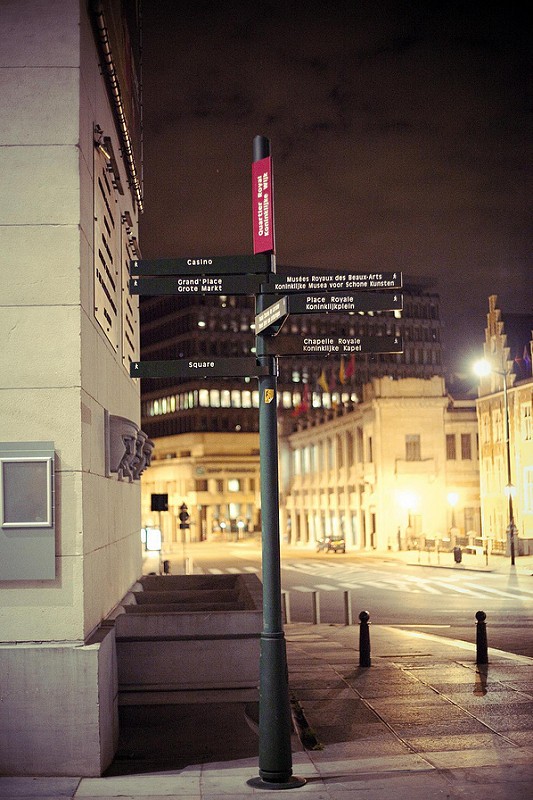
Shooting at night can be a challenge, as you need to face working whatever light is available, which often means working with low light. Night life can be filled with such a magic, and it’s definitive worth trying to capture any moment that captures your eye. So don’t give up, there is always a solution to any challenge. And shooting while having a walk at night, is not an exception. Try it and try it again if you want to to get that whimsical, phenomenal shot.
Remember that new cameras are really powerful and they are there to help. Just remember to put your ISO as high as 1600 or even higher, and for most cases you will not even have to worry about awfully blurry or full of terrible noise pictures. As long as you know your camera, and choose the right fast lens, all should be well and you should be able to get back home with beautiful, captivating shots that you will be proud of.
And remember, even if at night the light sources can be limited, usually there is light around. Use it to your advantage.
6. Dark places with scarce light
Tripods can become your “best lens” if used correctly. As human beings, we are pretty limited and even clumsy when steadiness is required. Many desirable images require absolute steadiness due to long exposures. Every single picture shot at a shutter speed slower than 1/30 of a second is heavily prone to motion and strange results due to shakiness.
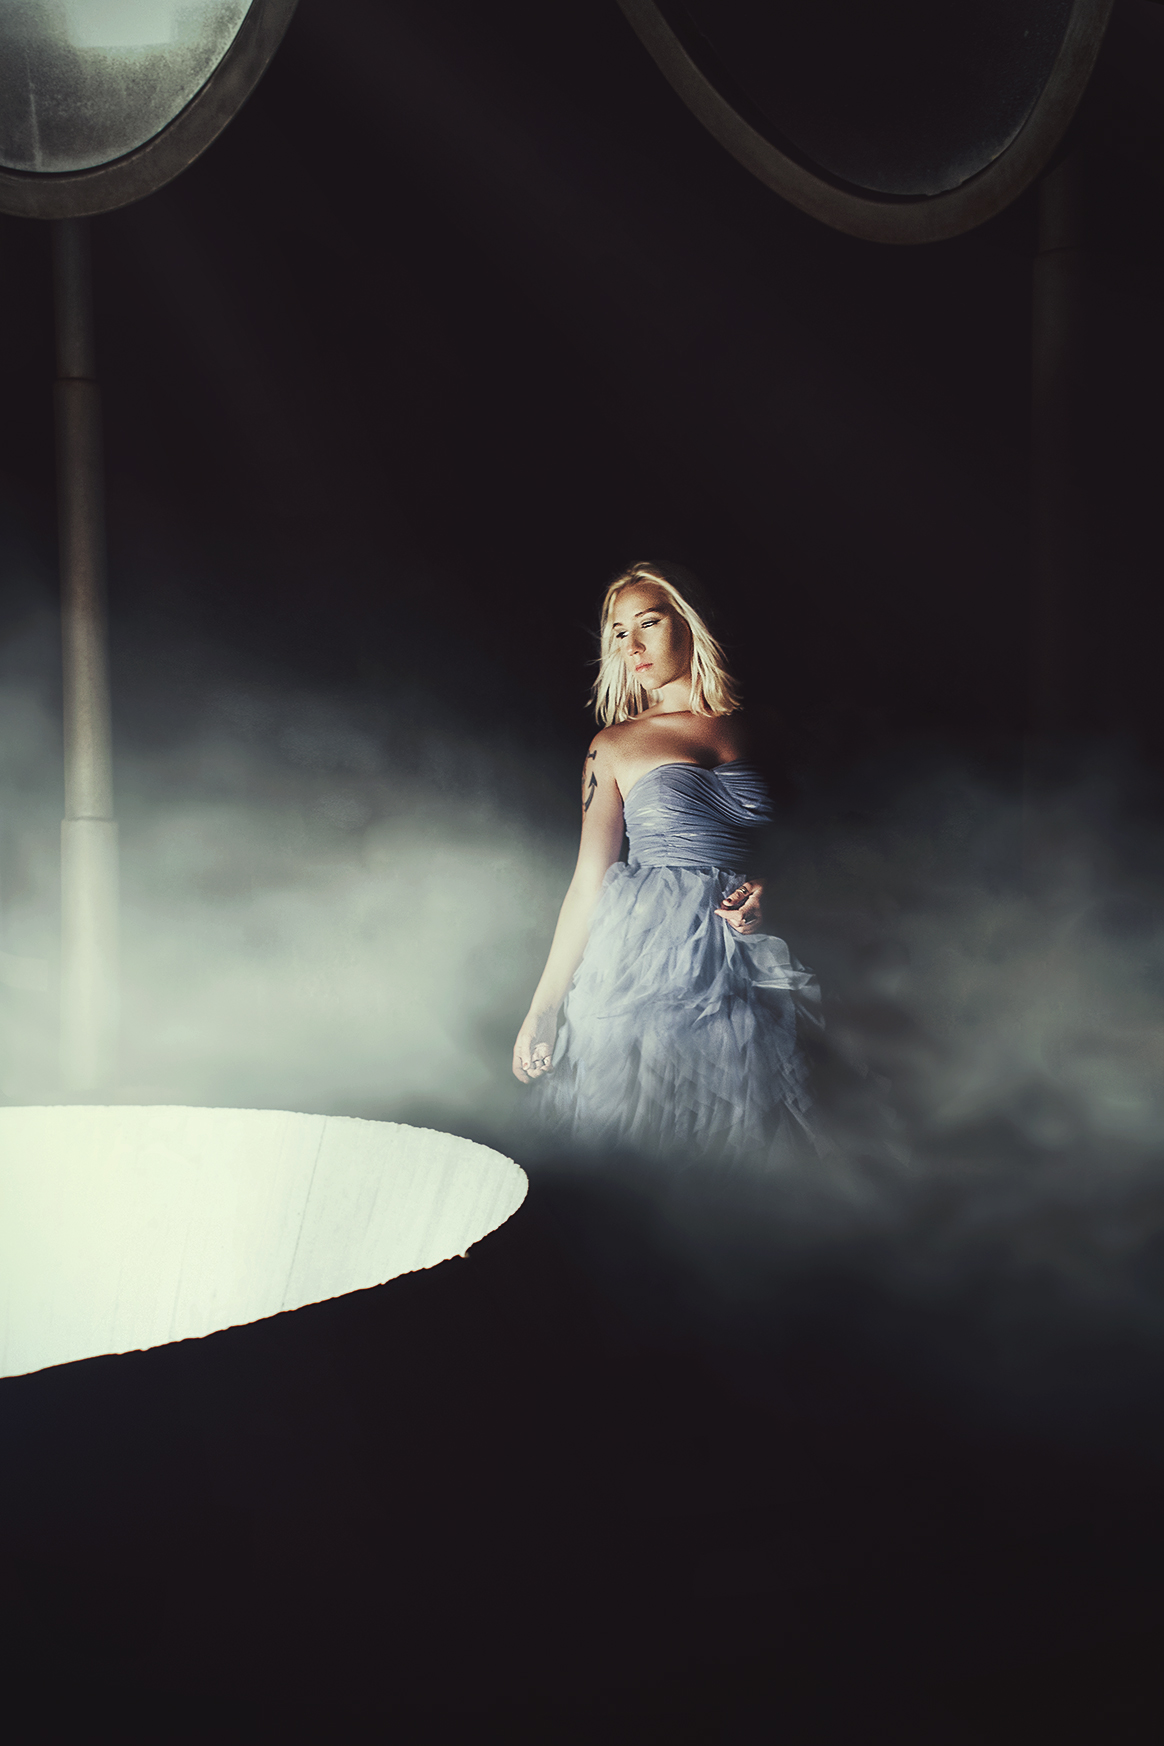
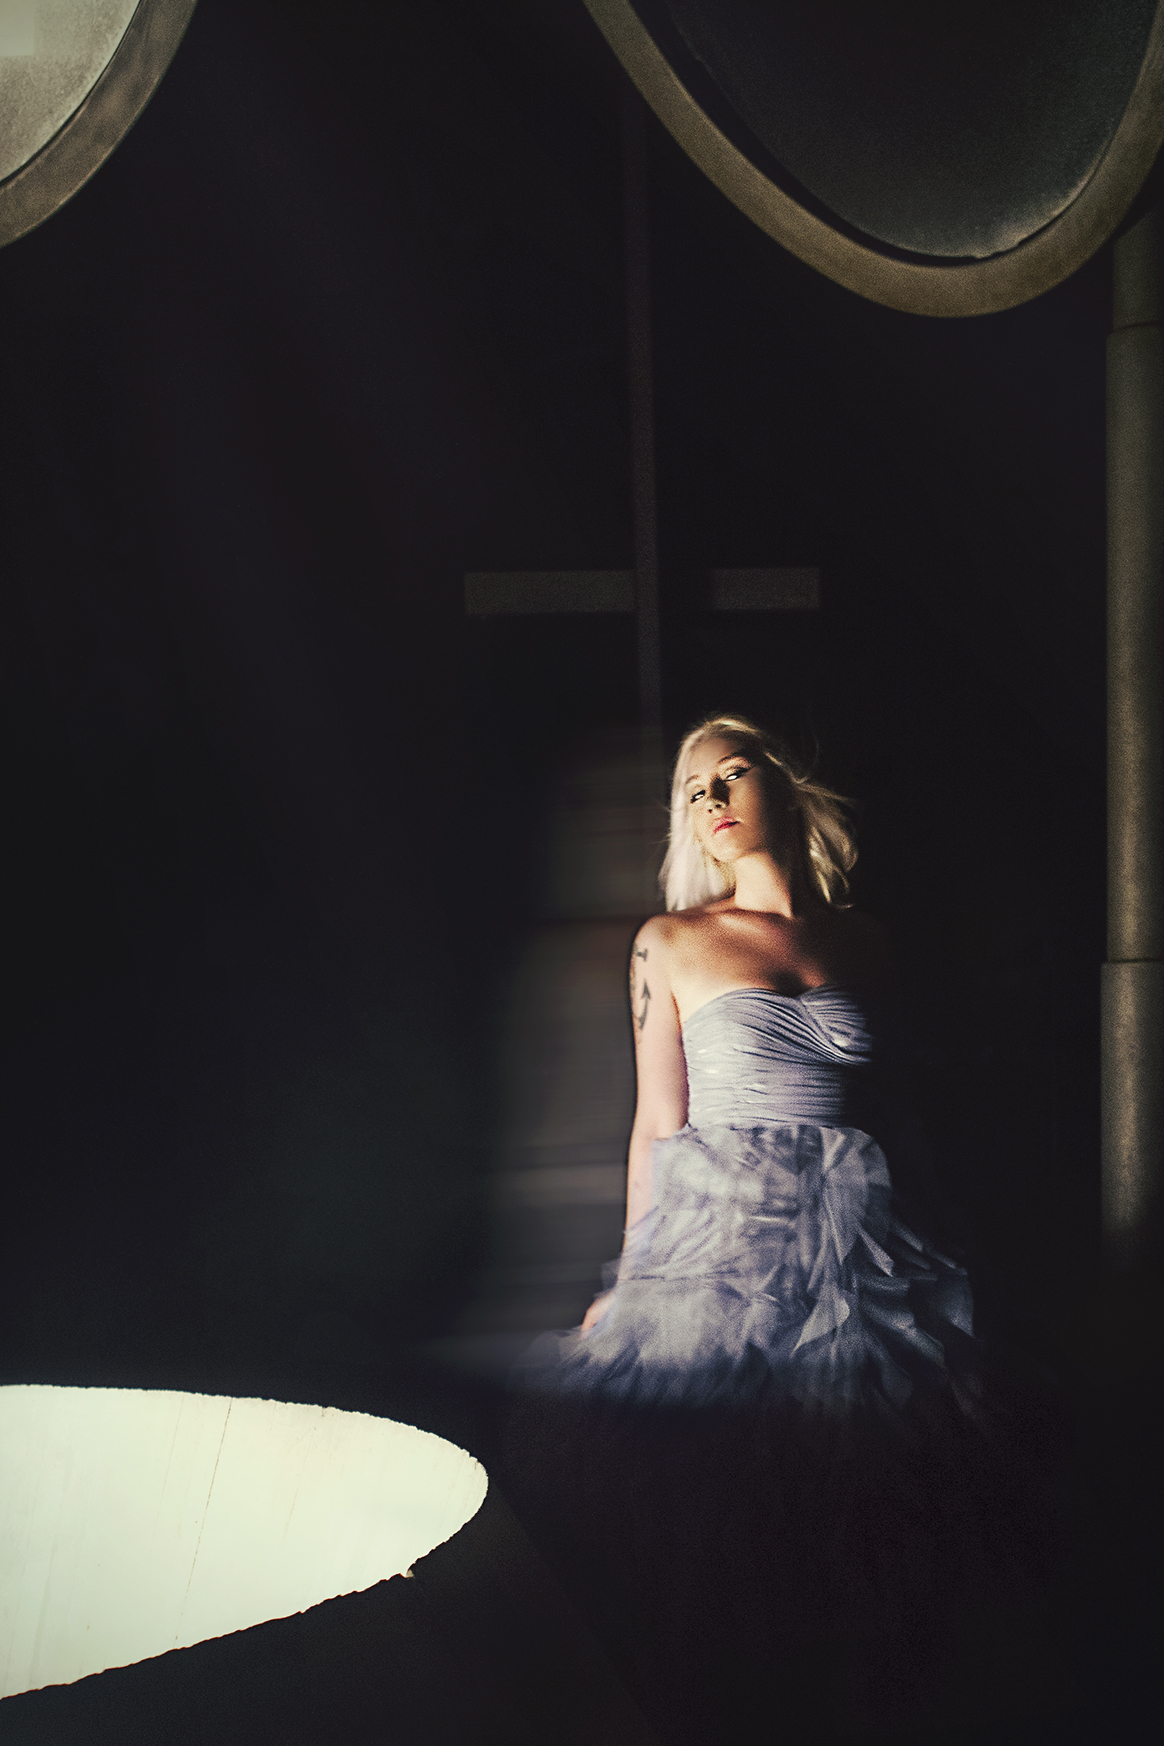
In a scarce-lighting situations the slow shutter speeds will demand your subject to be very still, unless you would like to capture a more creative take, as shown in the picture on the right. In those shots most likely than not you will have to use a tripod. Choose your camera settings and explore your options. Just to be sure that you got that shot, take the safer option first and then explore your options.
BONUS TIP:
TIP: 5-in-1 reflector disk: why it’s great tool to have? What are the 5 different types of reflectors, and what can they do for you?
Well as the name states you get 5-in-1 reflector in one light, portable, and in easy to use package. It includes white, silver, gold, black reflectors, and a diffusion panel.
Here are few additional tips on how to use each reflector:
- White section: when you need a reflective surface with a soft fill light, white reflector will be all you need.
- Silver section: it’s a reflective surface that produces stronger, direct light source. This reflector creates colder, silver fill with the reflected light.
- Gold section: it works similar to the silver reflector, but it creates a warm, golden fill of light.
- Black section: use this reflector when you need to completely block light, or to enhance contrast.
- Translucent section: it’s a wonderful gentle diffuser. When you want to create a softbox-like effect, that’s the reflector you should use. It creates a soft, gentle light.
I hope that you found those tips useful, and that you feel even more encouraged to start exploring the incredible world of photography, and using your camera.
Dear one even if you are taking the shots, make sure to exist in portraits every now and then!
With love,
Marta
Stay connected!
Website: martahurtado.com | Facebook: Marta Hurtado Photography
Google +: Marta Hurtado Photography | Pinterest: pinterest.com/hurtadomarta/
Instagram: instagram.com/martahurtadophotography
Twitter: twitter.com/m_sunshine
